VPS Setup (DigitalOcean) #
To host your application on a VPS, you’ll need to configure a DigitalOcean Droplet (or any VPS provider) with sufficient resources for performance and scalability.
#
- Choose a droplet with minimum 2 CPUs and 4GB RAM.
- SSH access required for server management.
Setup Server
To host an application on a Virtual Private Server (VPS), you need to configure the LAMP stack, which provides the required environment for running PHP/Laravel applications.
LAMP stands for:
- Linux – Operating system (e.g., Ubuntu)
- Apache2 – Web server
- MySQL – Database server
- PHP – Server-side scripting language used by Laravel
Note: You may use NGINX instead of Apache2 for better performance. However, this guide focuses on Apache2 for simplicity and broader compatibility.
Installing LAMP Stack (Ubuntu) #
This guide will walk you through setting up a LAMP stack on an Ubuntu server, which is essential for running PHP/Laravel applications.
⚠️ Requirement: An Ubuntu server (20.04 or 22.04) with sudo access.
Step-by-Step Installation
#
Step 1: Update Package Lists
sudo apt update
Step 2: Install Apache Web Server
sudo apt install apache2 -yStep 3: Install MySQL Server
sudo apt install mysql-server -y
Step 4: Install PHP and Apache Integration
sudo apt install php libapache2-mod-php php-mysql -y
Step 5: Test PHP Processing
echo "<?php phpinfo(); ?>" | sudo tee /var/www/html/info.php
Step 6: Install Additional PHP Modules (Recommended for Laravel)
sudo apt installphp-bcmath php-ctype php-json php-mbstring php-openssl \
php-pdo php-tokenizer php-xml php-zip php-fileinfo php-gd php-sodium php-mysql -y
After completing the steps, your server will be ready to host Laravel or any PHP-based application.
Access your server IP in the browser — you should see the Apache default welcome page.

To verify that PHP is installed correctly, open your browser and go to:http://YOUR_SERVER_IP/info.php
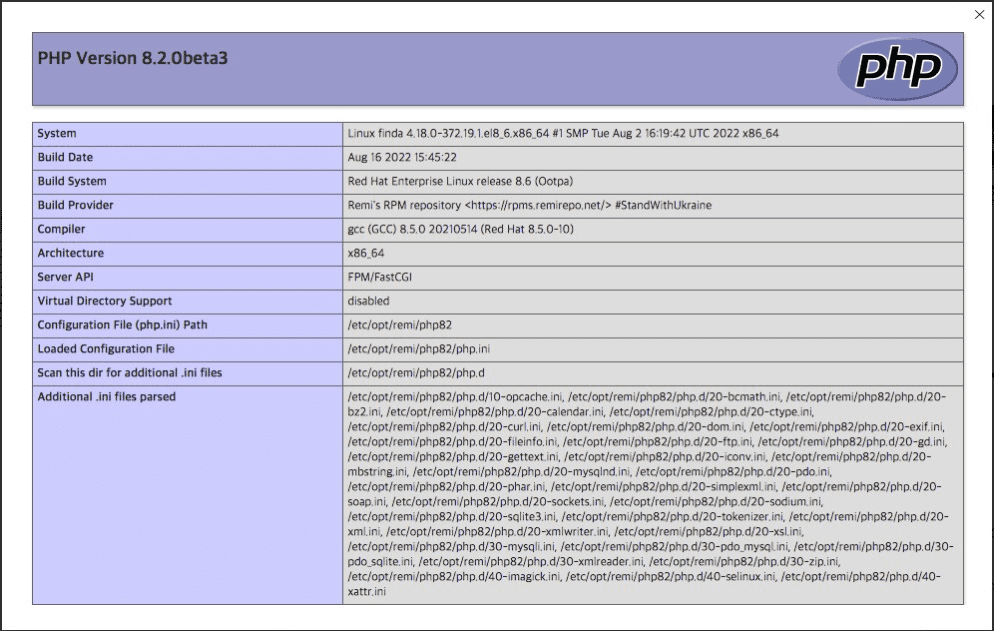
If successful, you’ll see the PHP information page showing server configurations.
Remember to delete the info.php file after checking for security reasons.
Configure Domain/Sub-Domain (Apache on VPS) #
To use a custom domain or sub-domain (like yourdomain.com or admin.yourdomain.com), you need to configure a Virtual Host (vhost) file in Apache.
Steps to Configure Virtual Host:
cd /etc/apache2/sites-available/Step 2: Create a Virtual Host File
sudo nano /etc/apache2/sites-available/your_domain.com.conf
Paste the following content:
<VirtualHost *:80>
    ServerAdmin webmaster@your_domain.com
    ServerAlias www.your_domain.com
    ServerName your_domain.com
    DocumentRoot /var/www/your_domain.com/public_html

    <Directory /var/www/your_domain.com/public_html>
        Options -Indexes +FollowSymLinks
        AllowOverride All
        Require all granted
    </Directory>

    ErrorLog ${APACHE_LOG_DIR}/error.log
    CustomLog ${APACHE_LOG_DIR}/access.log combined
</VirtualHost>
Step 3: Enable the Virtual Host
sudo a2ensite your_domain.com.conf
Step 4: Reload Apache
sudo systemctl reload apache2
Step 5: Test the Domain
Open your browser and go to:
http://your_domain.comYou should see your website or the Apache welcome page if set up correctly.
Domain Propagation #
Domain propagation is the process of updating DNS records across the internet so that your domain or subdomain becomes accessible globally.
Steps to Start Propagation: #
- For main domains: Create or update an A record pointing to your server’s IP address.
- For subdomains: Use a CNAME record pointing to your main domain (recommended), or create another A record pointing directly to the server.
How Long Does It Take? #
DNS propagation can take anywhere from a few minutes up to 48 hours, depending on your DNS provider and global caching.
During this period, some users may see your new server while others still see the old one.
Tip: Check Propagation Status #
Use this tool to monitor DNS propagation across multiple global servers:
🔗 https://dnschecker.org/
Setup SSL with Certbot on Apache #
SSL (Secure Socket Layer) encrypts data between the user’s browser and your server, protecting sensitive information. In this guide, you’ll learn how to install a free SSL certificate using Certbot on an Apache server.
Prerequisites:
Apache web server is installed and running

A registered domain name pointed to your server’s IP

Domain is accessible via HTTP (http://yourdomain.com) on port 80

SSH access with sudo privileges
Step-by-Step Installation #
Step 1: SSH into the Server
ssh your-user@your-server-ip
Step 2: Install snapd (if not installed)
Refer to Snapcraft’s official guide: https://snapcraft.io/docs/installing-snapd
Step 3: Remove old Certbot (if any)
sudo apt-get remove certbot
Step 4: Install Certbot using Snap
sudo snap install --classic certbot
Step 5: Link Certbot command
sudo ln -s /snap/bin/certbot /usr/bin/certbot
Step 6: Obtain and Install SSL Certificate
Use this command to install SSL and auto-configure Apache:
You will be prompted to enter your domain name and email address.
sudo certbot --apache
Step 7 (Optional): Obtain Only Certificate (Manual Configuration)
sudo certbot certonly --apache
Step 8: Test Auto-Renewal
sudo certbot renew --dry-run
Step 9: Verify SSL Installation
Open your browser and visit:
https://yourdomain.com
If everything is set up correctly, you’ll see the secure lock icon in the browser’s address bar.
MySQL Database & User Creation #
To store and manage your application's data, you need to create a MySQL database, a user, and assign proper privileges.

Prerequisites:
MySQL installed and running on your server

Access to MySQL with root or sudo privileges
Step-by-Step Guide: #
Step 1: Log in to MySQL
sudo mysql
Step 2: Create a New Database
Replace your_database_name with your preferred database name.
CREATE DATABASE your_database_name;
Step 3: Create a New MySQL User
Replace your_username and your_password with your desired credentials.
CREATE USER 'your_username'@'localhost' IDENTIFIED BY 'your_password';
Step 4: Grant Privileges to the User
GRANT ALL PRIVILEGES ON your_database_name.* TO 'your_username'@'localhost';
Step 5: Apply Changes
FLUSH PRIVILEGES;
Step 6: Exit MySQL
EXIT;
Your MySQL database and user are now ready to be used in your Laravel .env configuration:
DB_DATABASE=your_database_name
DB_USERNAME=your_username
DB_PASSWORD=your_password
Optional: phpMyAdmin Installation #
phpMyAdmin is a web-based interface for managing MySQL databases. It's optional but useful if you prefer a graphical UI instead of using the terminal.
Installation Steps: #
Step 1: Update Package Lists
sudo apt update
Step 2: Install phpMyAdmin and Required PHP Extensions
sudo apt install phpmyadmin php-mbstring php-zip php-gd php-json php-curl
🛑 Important: During the installation:
- When prompted to choose a web server, use the SPACEBAR to select
apache2, then press TAB and ENTER. - Select Yes when asked whether to use
dbconfig-common. - You’ll be prompted to set a MySQL password for phpMyAdmin — choose and confirm it.
Step 3: Enable PHP Modules (if needed)
Step 3: Enable PHP Modules (if needed)
sudo phpenmod mbstring
Step 4: Restart Apache
sudo systemctl restart apache2
Project Setup #
Follow these steps to upload and prepare your project on the server.
Step-by-Step Instructions: #
Step 1: Upload the Project Files
/var/www/your_domain.com/public_html
Step 2: Install unzip (if not already installed)
sudo apt install unzip
Step 3: Unzip the Project File
unzip your_project_file.zip
Set Proper Permissions
Run the following commands to set the required permissions:
sudo chmod 755 .env
sudo chmod 777 modules_statuses.json
sudo chmod 777 app/Providers/RouteServiceProvider.php
sudo chmod -R 777 storage
sudo chmod -R 777 bootstrap/cache
sudo chmod -R 777 resources/lang


